N8N Series - Secure n8n Public Access via Cloudflare Tunnel Zero Trust
After setting up your n8n system using Docker Desktop, you can easily access it through local. However, what if you want to make your n8n instance accessible from anywhere using a custom domain?
Typically, this involves opening ports on your internet router to allow external connections — but doing so exposes your public IP address, which can pose serious security risks.
In this post, we’ll explore a safer and smarter approach: using Cloudflare Tunnel with Zero Trust to securely expose your n8n instance to the internet. This method lets you access n8n publicly without opening any ports — keeping your workflows private, protected, and easily accessible.
Prerequisites: What You’ll Need Before Getting Started
Before you begin setting up Cloudflare Tunnel and Zero Trust, make sure you already have
Working n8n instance — whether it’s running via Docker Desktop, or a local installation. Access via localhost
A valid domain
A Cloufare Account: you can sign up here Cloudflare Dashboard | Manage Your Account (Free plan works fine)
Obtain your domain on Cloudfare
Add your domain to Cloudfare
1. Log in to your Cloudflare Dashboard.
2. Click Onboard a domain
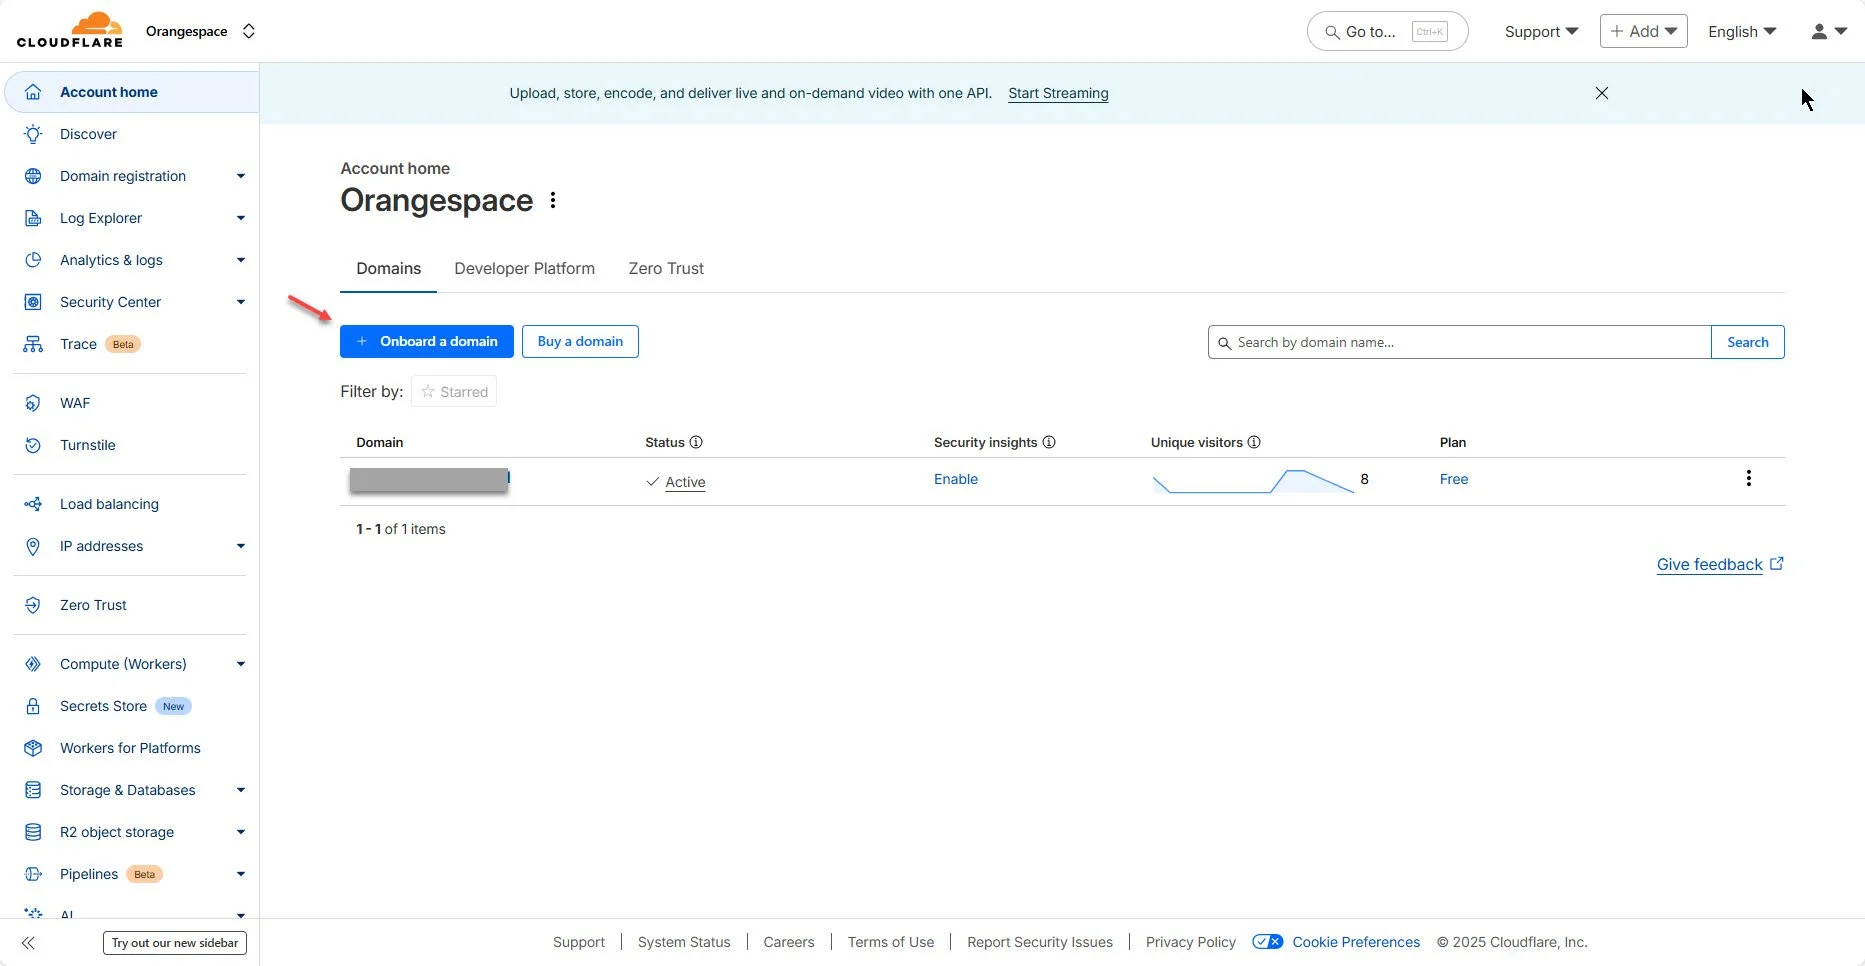
Domain Dashboard
3. Enter your existing domain (If you haven’t added any domains to Cloudflare yet, this interface will appear automatically). Click Continue to run next step
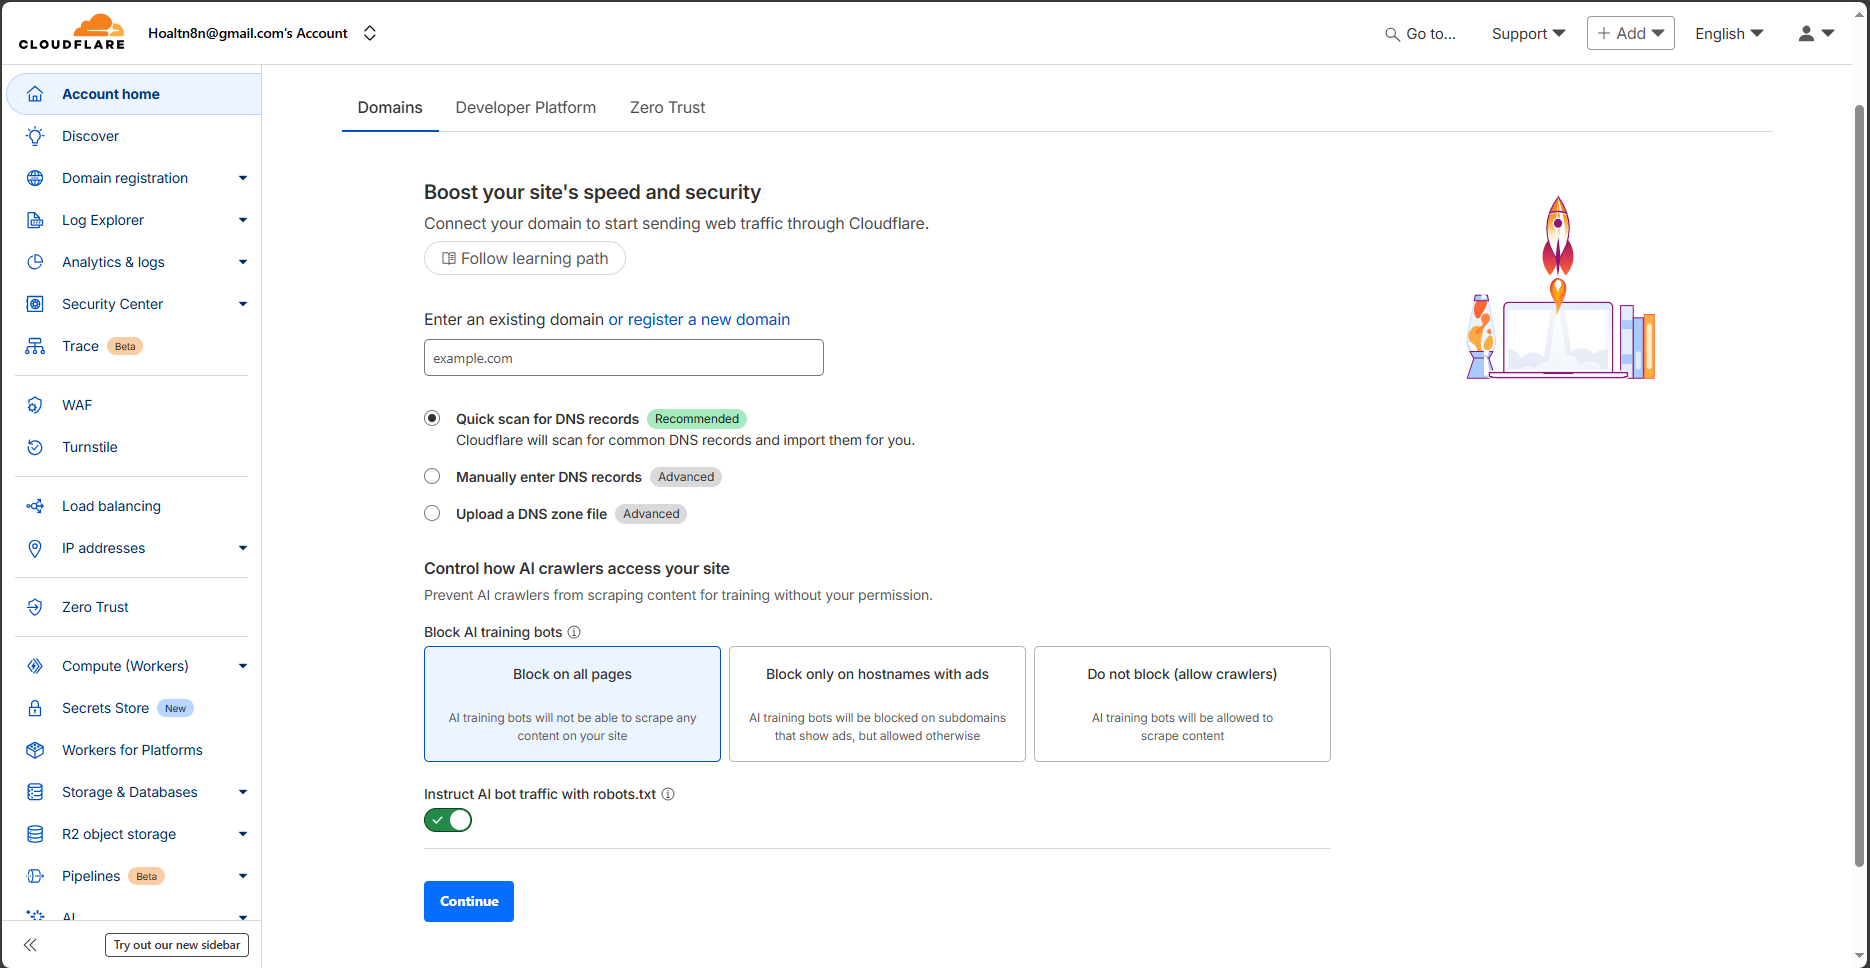
Enter your existing domain
4. Choose the Free Plan (or higher) and continue. Cloudflare will scan and import your existing DNS records automatically.
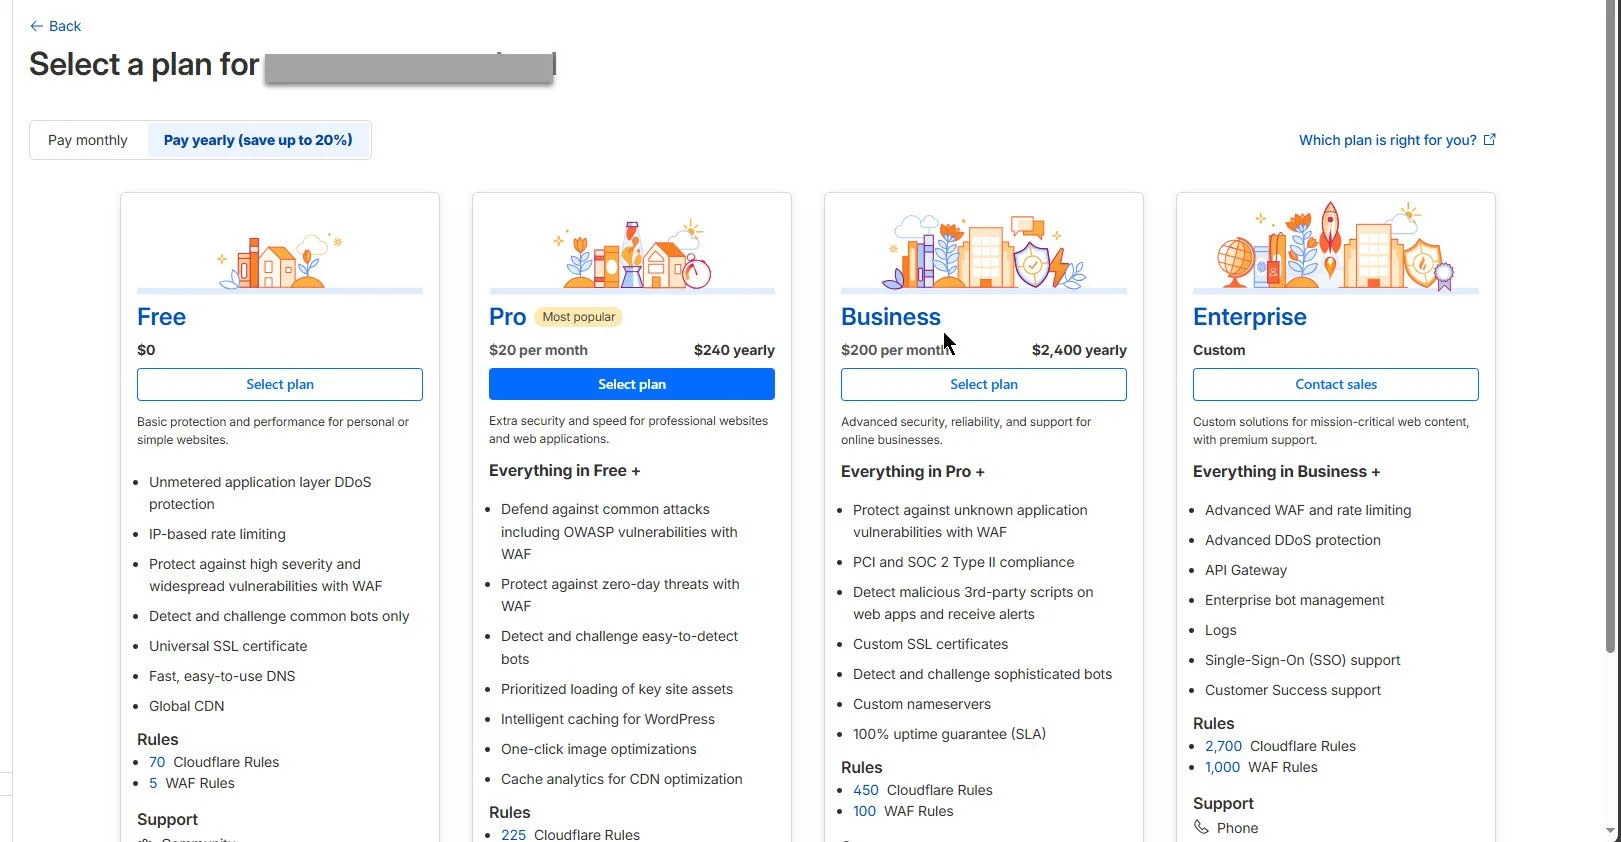
Choose free plan for the domain you set up in Cloudflare
Update Cloudflare Nameservers
After adding your site to Cloudflare, you will be given two unique nameservers nameservers (NS records) — replace your domain registrar’s nameservers with these.
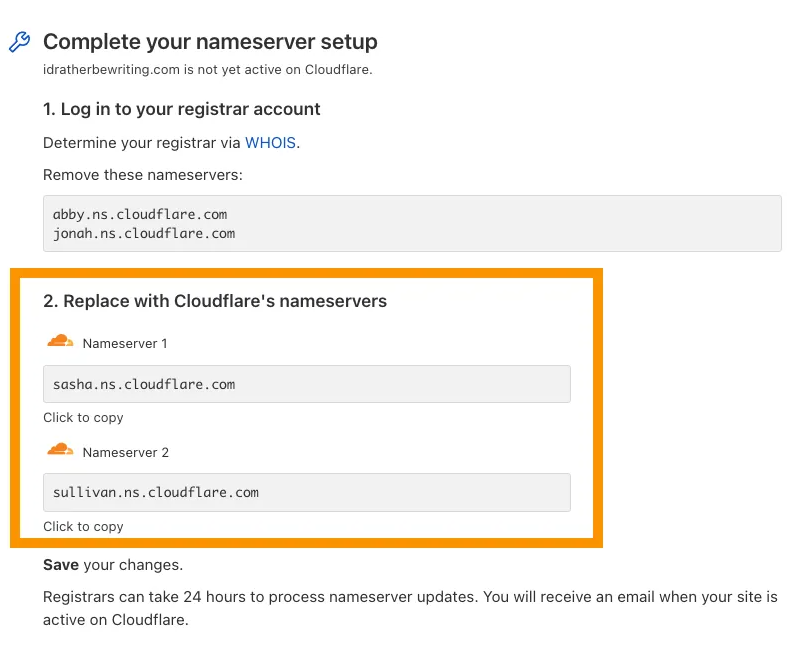
Nameserver from cloudflare (example on official site)
Wait for the DNS changes to fully propagate — this process can take several hours, depending on your domain registrar and global DNS cache updates. During this time, your domain may temporarily point to the old nameservers. Once the propagation is complete and verified, Cloudflare will take full control of your domain’s DNS management, allowing you to configure records, apply security settings, and enable performance features directly from your Cloudflare dashboard.
When your domain is Active in Cloudflare Dashboard, you can proceed to the next step.

Active status after completing the Domain Settings
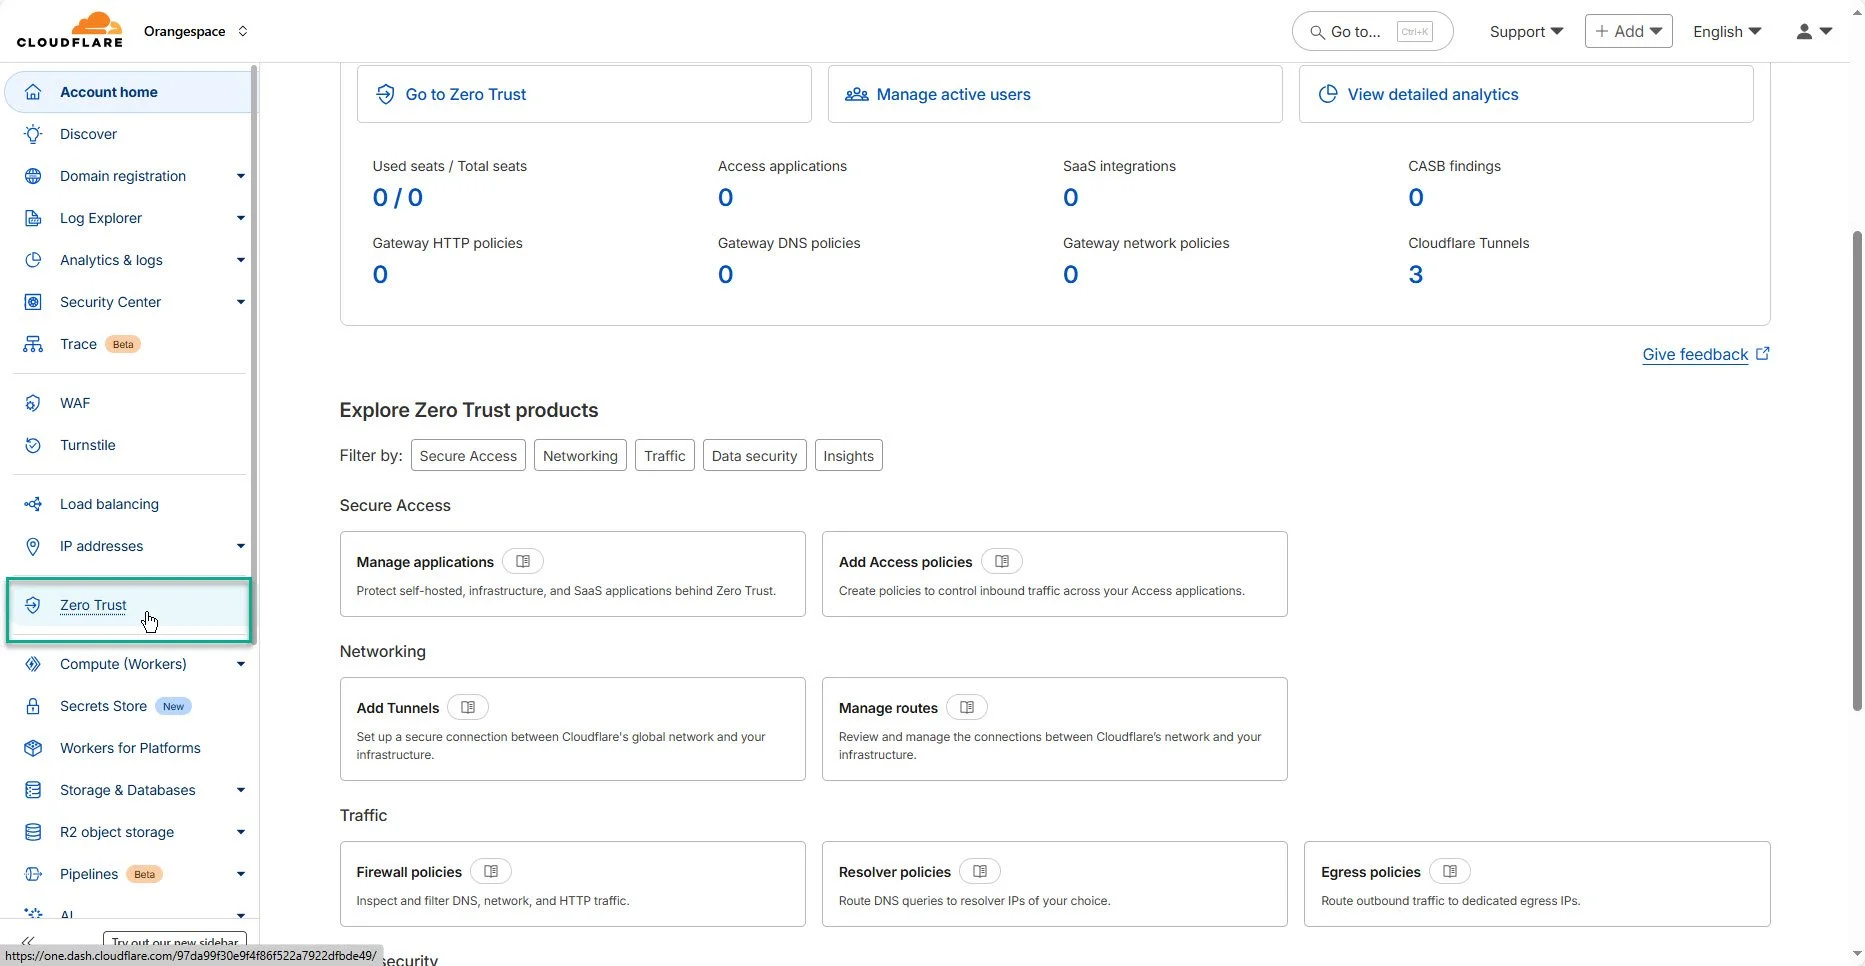
Zero Trust - Tunnel Configuration
After successfully adding your domain to Cloudflare, you can proceed to the Zero Trust dashboard to configure your secure tunnel. This is where you’ll set up Cloudflare Tunnel, which connects your local n8n instance to Cloudflare’s network — enabling secure public access without exposing any ports or IP addresses.
Zero trust access
Create a tunnel
1. On Zero Trust Dashboard, access Networks —> Tunnels —> Create a tunnel
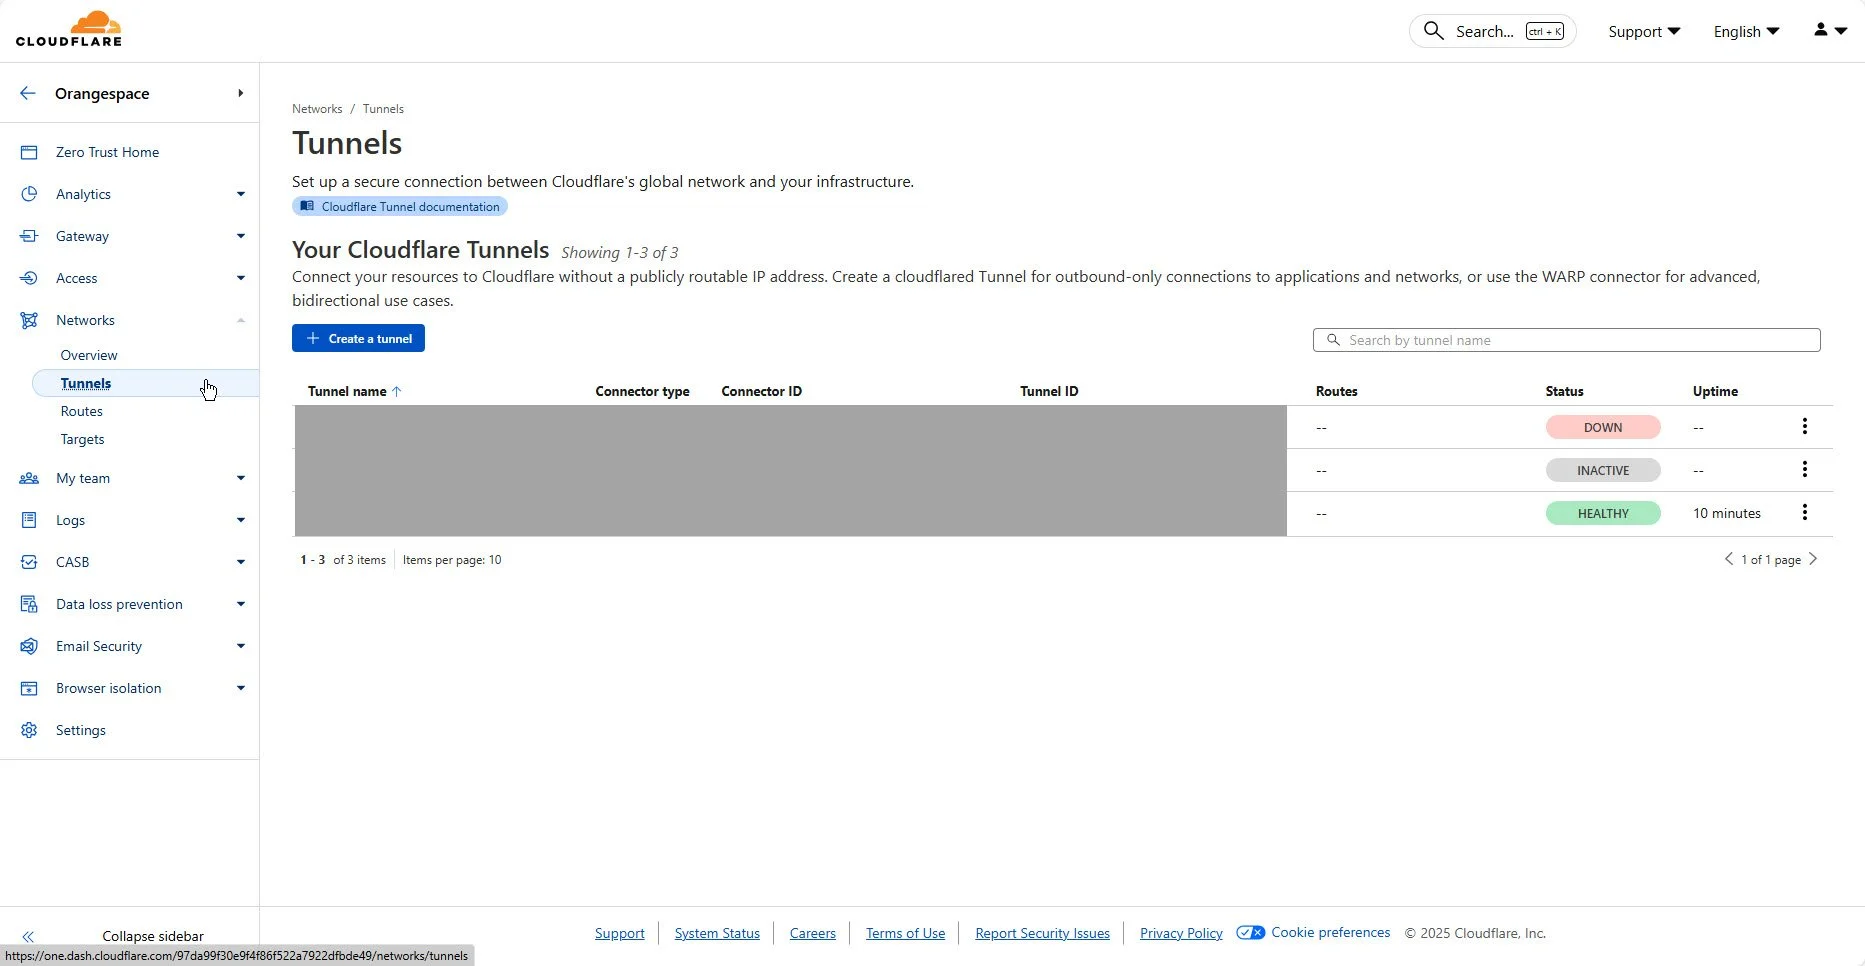
Create a tunnel
2. Choose Cloudflared Type
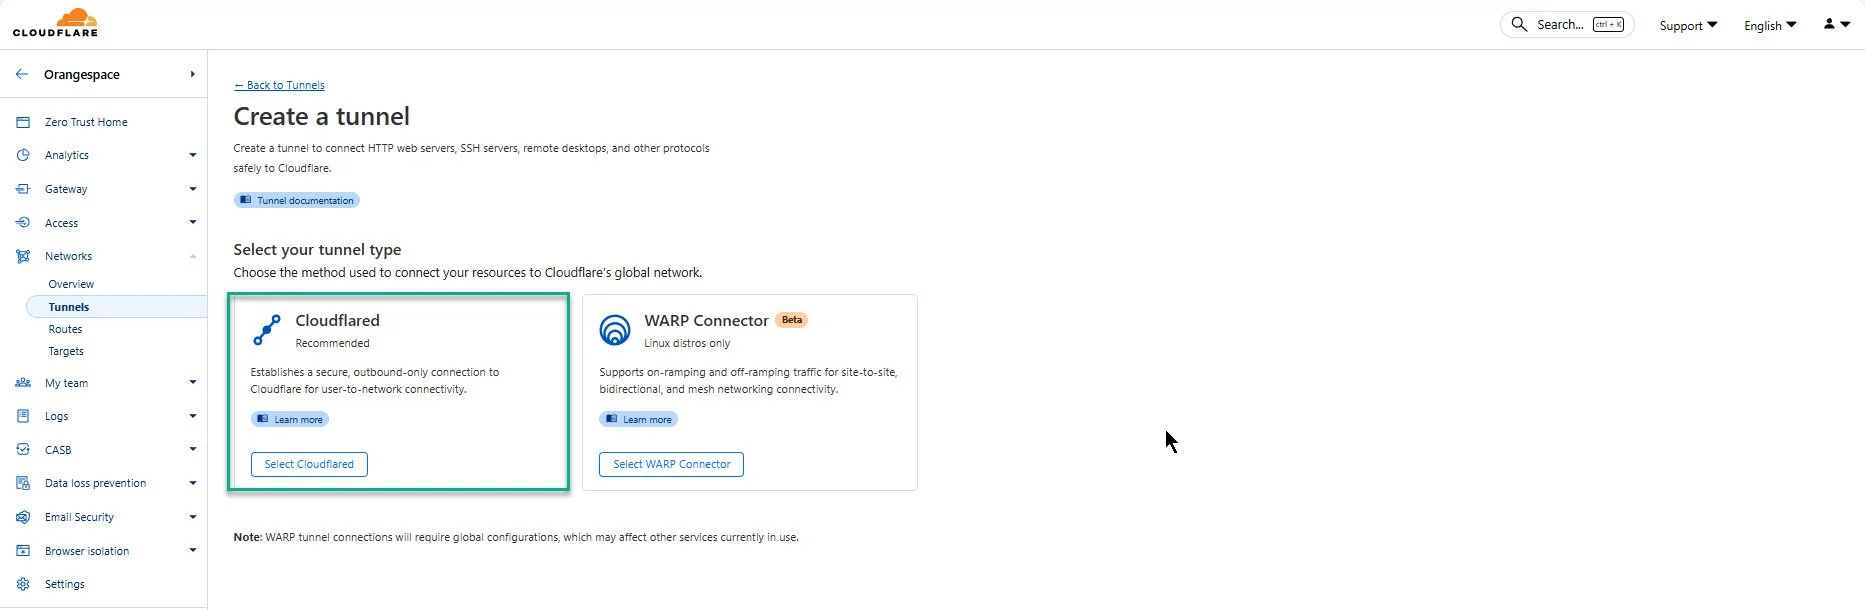
Choose Cloudflared type for tunnel
3. Provide your tunnel a name —> Save
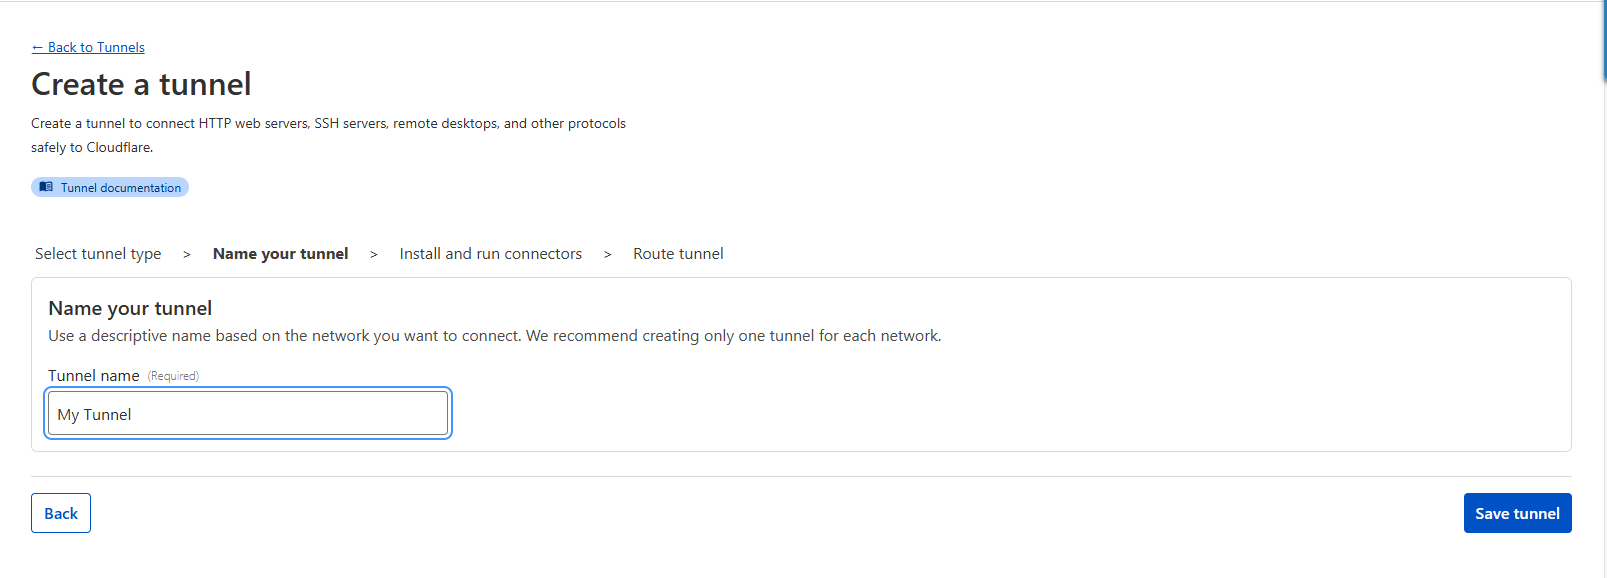
Tunnel Name
4. Configure the tunnel. Select the operating system of the device where your n8n instance is running, then follow the on-screen instructions to install the Cloudflare connector (Cloudflared). This connector will securely link your local n8n service to Cloudflare’s network.
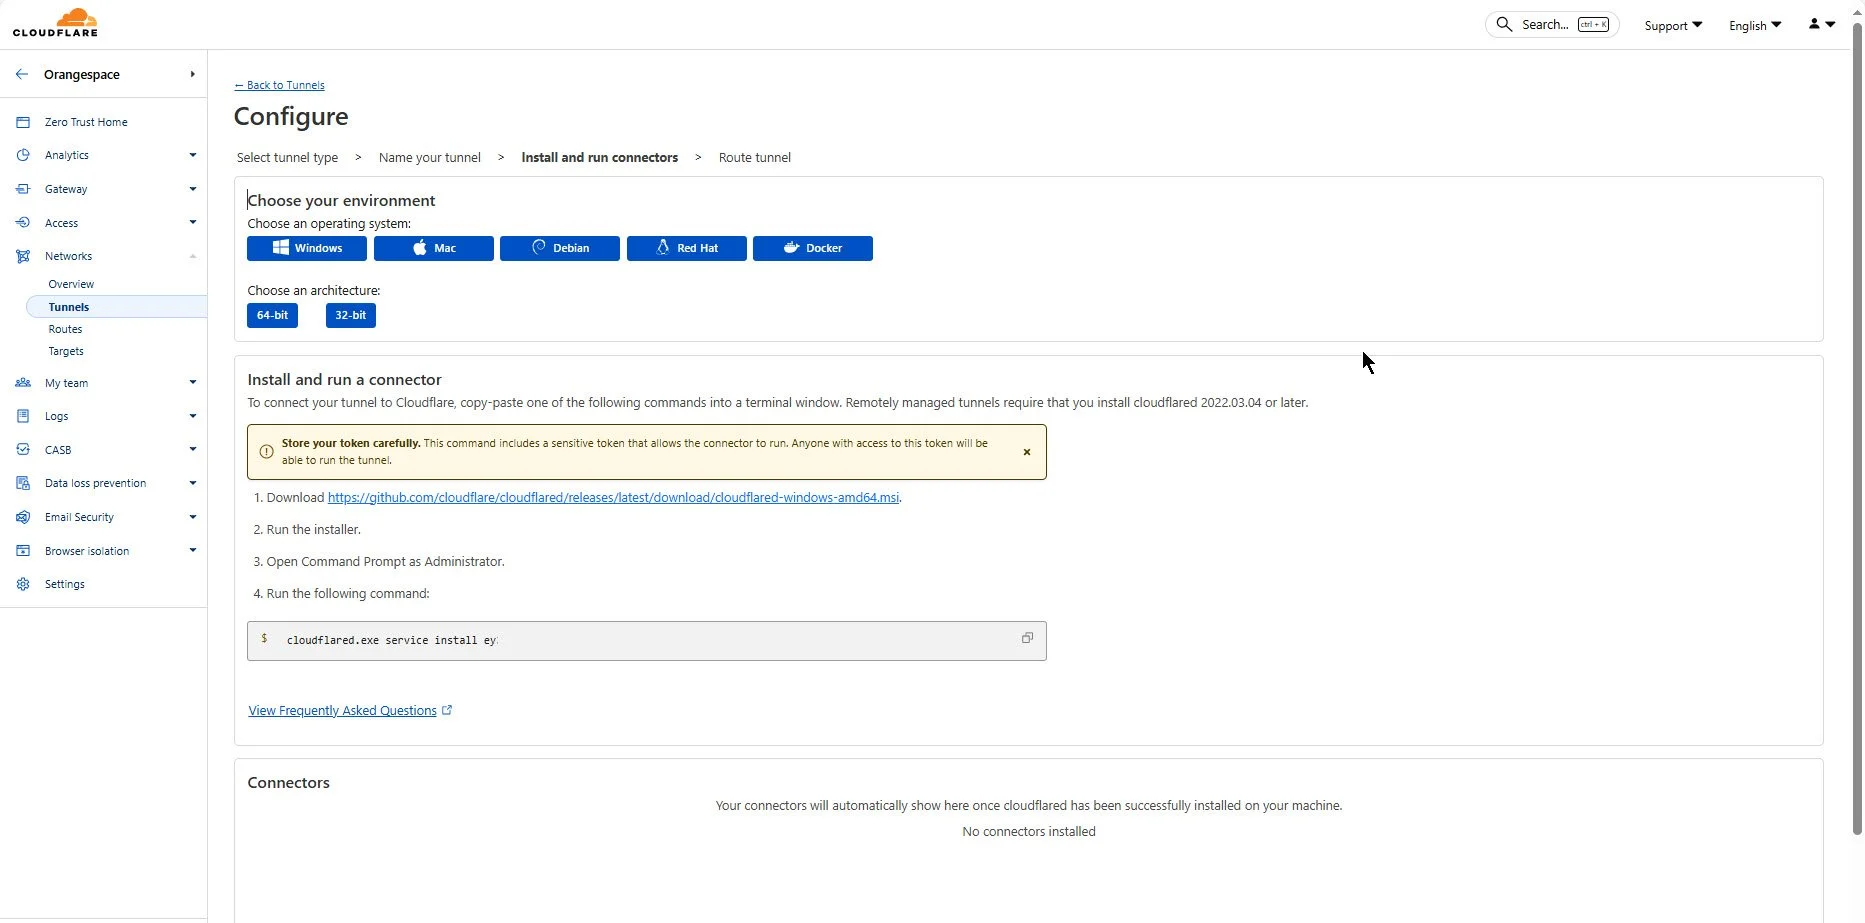
5. After installing the connector, open Command Prompt (or Terminal on macOS/Linux) with administrator privileges, and run the command provided by Cloudflare. This command automatically registers your device and establishes a secure connection between your local environment and the Cloudflare network, preparing your tunnel for configuration and use.
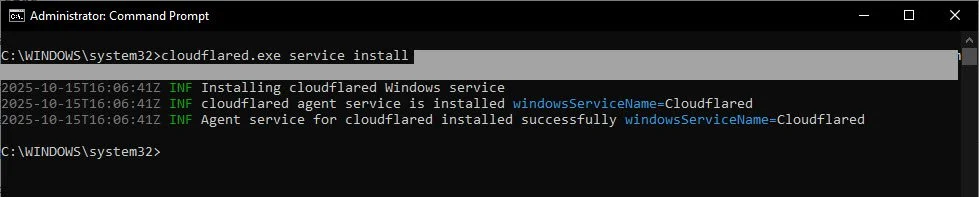
Success when running command
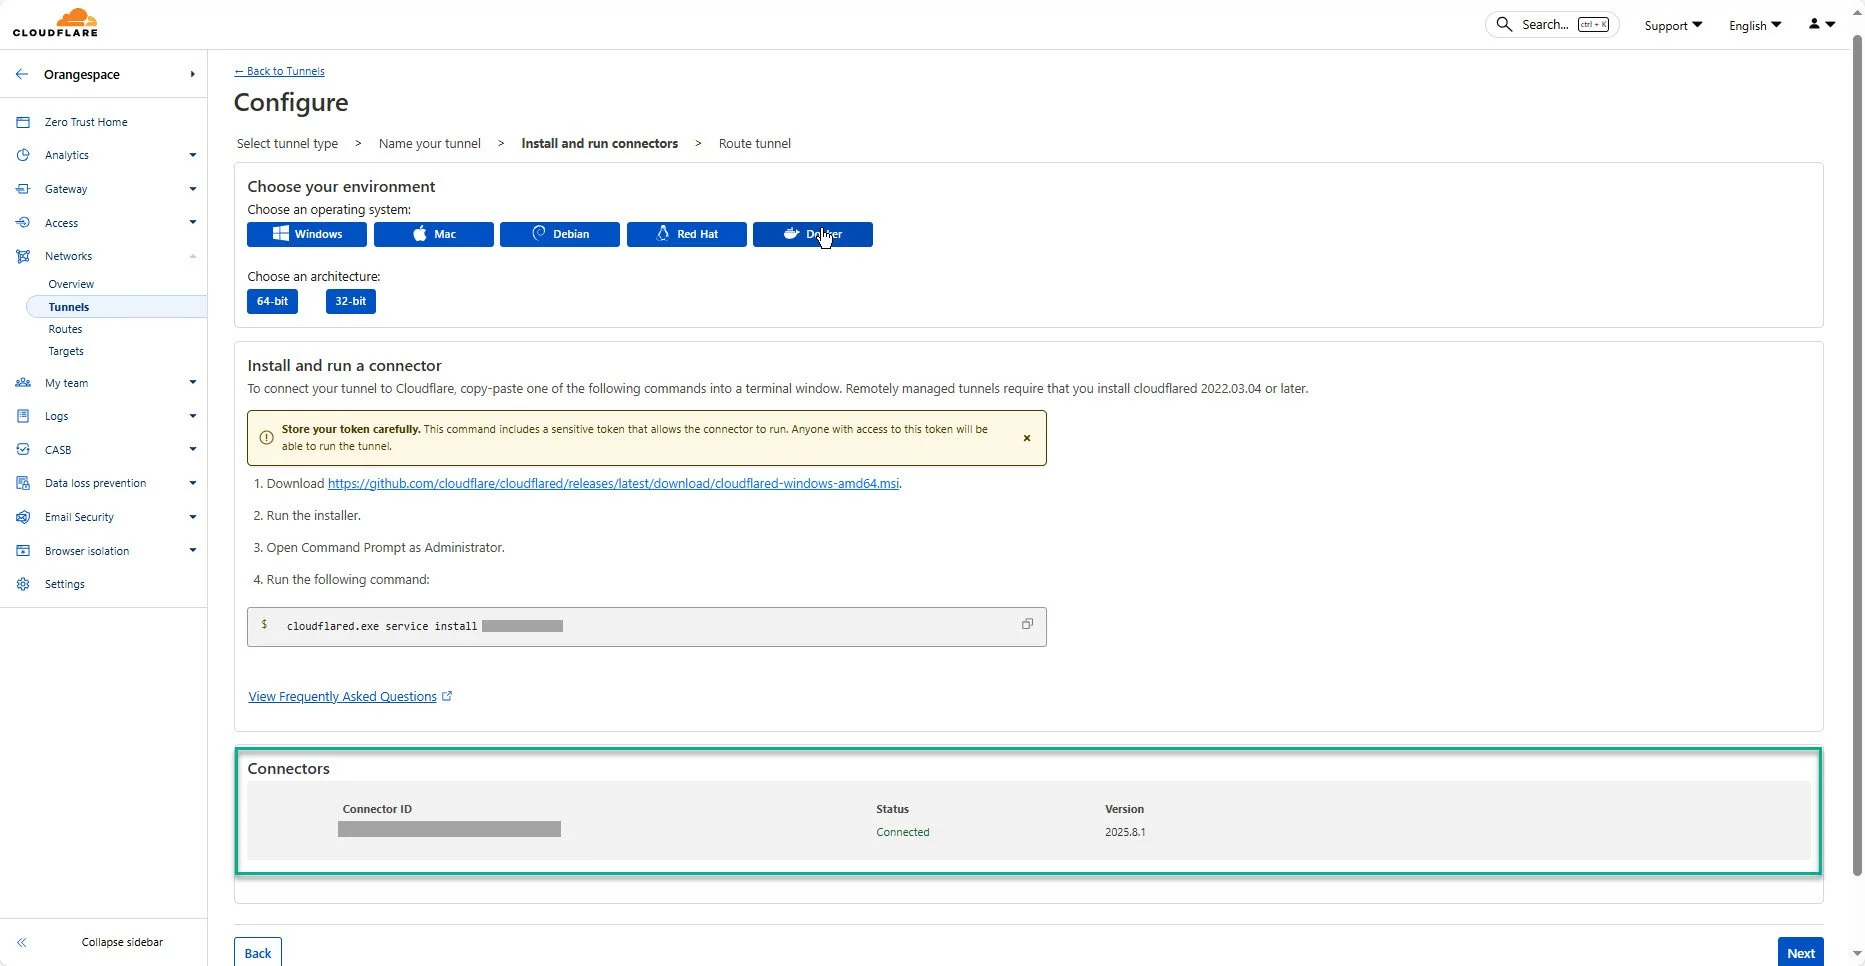
After configuring successfully, you can see a connector with status Connected
6. Click on Next to finish creating a tunnel
Add an Application to Your Tunnel
Once your tunnel is active, the next step is to link your n8n application to it.
1. Provide your subdomain and domain name — for example, n8n.yourdomain.com
2. Under Service, choose http type then enter the local address of your running n8n instance, such as: localhost:5678

3. Click on Complete setup to save your configuration. After this step, Cloudflare will automatically create a DNS record for your subdomain and route all traffic through your secure tunnel, ensuring that users can only access your n8n instance via Cloudflare’s encrypted and protected network.
Common Use Cases for Using Cloudflare Tunnel
Cloudflare Tunnel isn’t just for protecting one app — it’s a strong, flexible tool that grows with your system. Here are two real examples I have tried
Use One Domain to Deploy Apps from Multiple Servers
If you manage several applications running on different servers or environments, you can still use one domain to organize them all under Cloudflare.
For example:
n8n.example.com→ points to Server A (workflow automation)docling.example.com→ points to Server Bapi.example.com→ points to Server C (backend API)
Each server creates its own Cloudflare Tunnel, connected to the same Cloudflare account and domain. Cloudflare routes incoming traffic securely to the correct tunnel, so you can manage everything under one consistent domain — without opening any firewall ports or exposing public IPs.
Use One Tunnel to Deploy Multiple Apps on a Single Server
If you host multiple apps on the same machine, you can use one Cloudflare Tunnel to route traffic to each service via different subdomains.
For example:
n8n.example.com→ routes tohttp://localhost:5678monitor.example.com→ routes tohttp://localhost:3000docs.example.com→ routes tohttp://localhost:8080
In Conclusion
By integrating Cloudflare Tunnel Zero Trust, you can securely expose your n8n instance — or any self-hosted app — to the public internet without the risks of port forwarding or manual SSL setup. Whether you’re managing multiple servers or hosting several apps on a single machine, Cloudflare offers a flexible, scalable, and secure way to route traffic through its global edge network. With encryption, identity-based access, and simple configuration, you gain enterprise-grade protection and reliability for your automation workflows.